Wednesday, 3 November 2010
Production Log of How Filming Went
My filming so far has been going great! I have already filmed the Park and Town scenes. The weather was brilliant when i filmed the Town and park scenes, which was good as it gave me great light so it will make the film look brighter (rather than dull). I now have to film the school scenes. I need to make sure I can get all the people I need at the same time so I can film properly. I also need to do the Scenes at my house, however I have yet to organise a day when all the children can come together to film. The filming at my house shouldn't take too long as there is only a couple of shots that i need to do, however the school filming will take longer as there are many shots that I have to film in various areas of the school.

Tuesday, 2 November 2010
Planning for Filming!
To make sure we get everything ready for filming our video there are a few things that are essential to prepare before starting. These are: Production Schedule, Assets list and Shot list. The Production Schedule shows the timewewant to film during the day and the dates we actually want to film on. This is important so the filming can be spread out over a few days or weeks to make sure you have enough time to cover every scene.


The asset list shows all the props that the performers will need in the scenes. This must be down to the tiniest detail because it is vital that nothing is missed out, as it could cause complications on the day of filming if something is forgotten.
The shot list is a list that shows every shot that needed to be filmed. This is also important for the planning of filming the video because it will help the person filming to be more organised and know what comes next when filming instead of trying to figure it out on the day.
Here are Screenshots of my production schedule, Assets list and shot list.


Thursday, 14 October 2010
Animatics Film
This is the Animatics video that I made from my timeline to get a feel of how my video would look and also to help me with filming so I knew what shots I needed to do and what locations they needed to be filmed in.
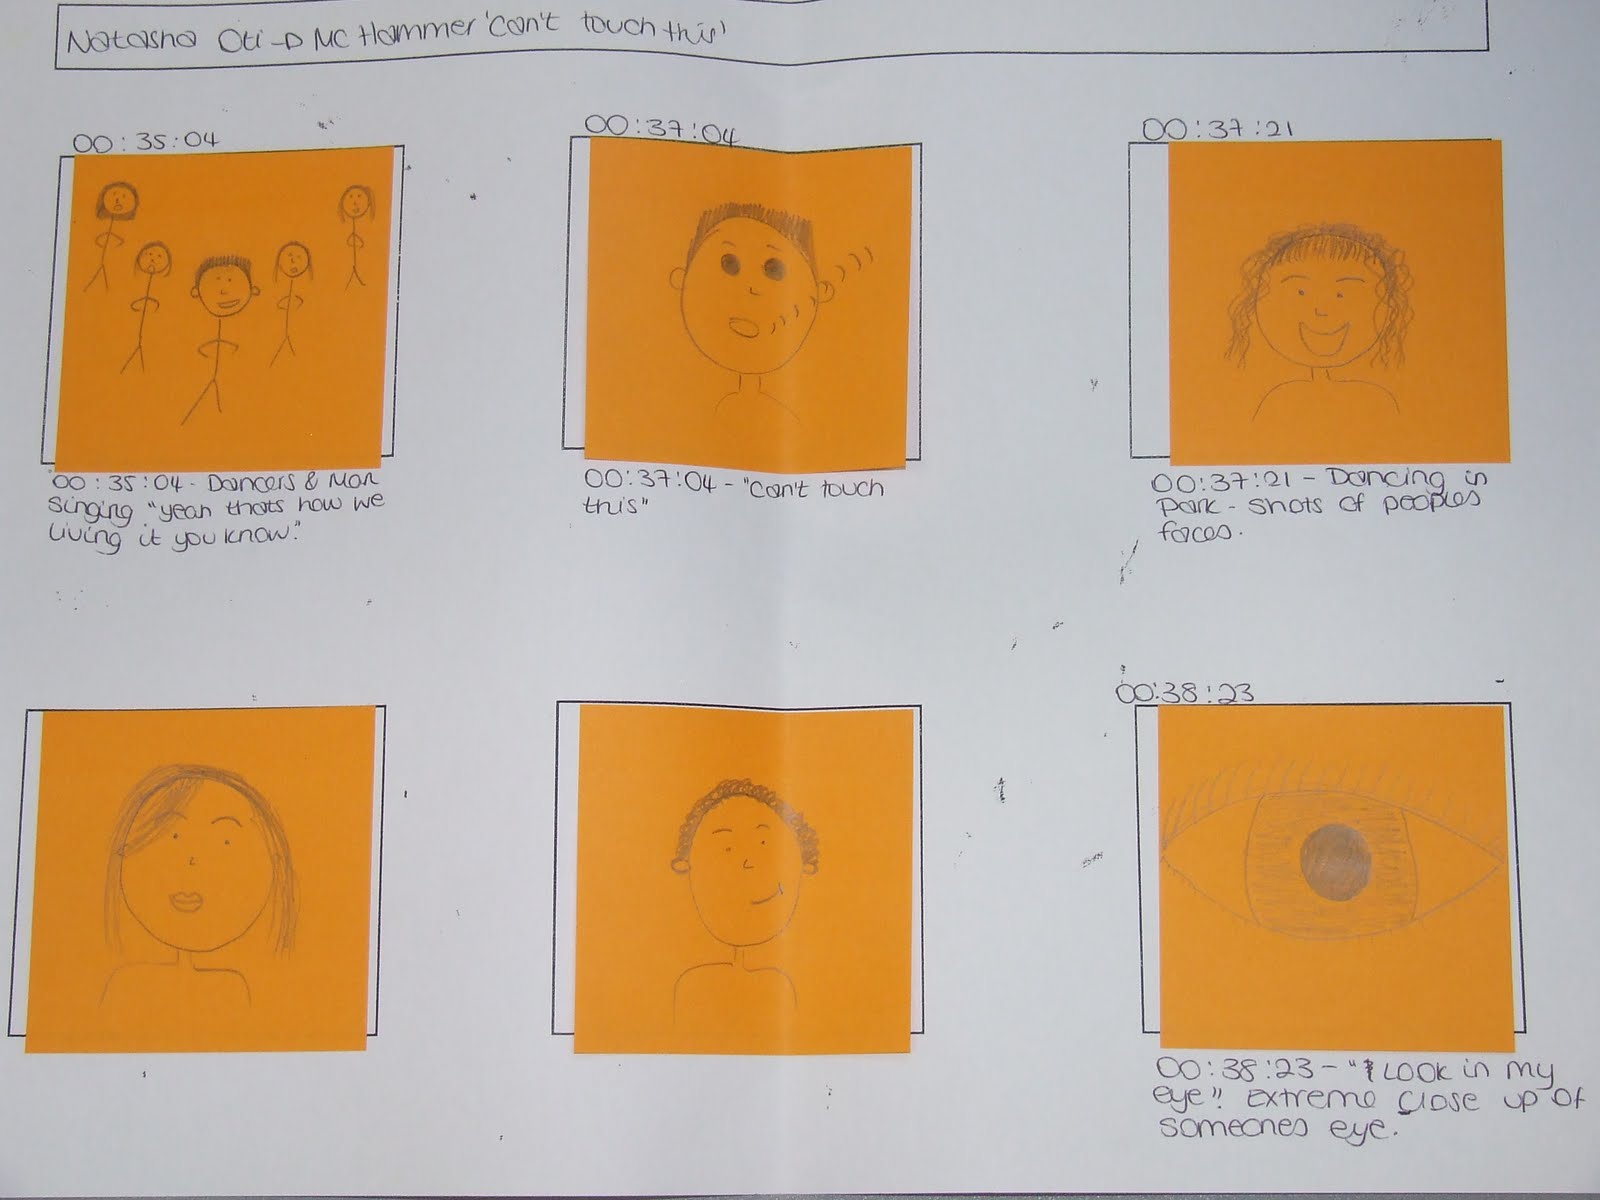
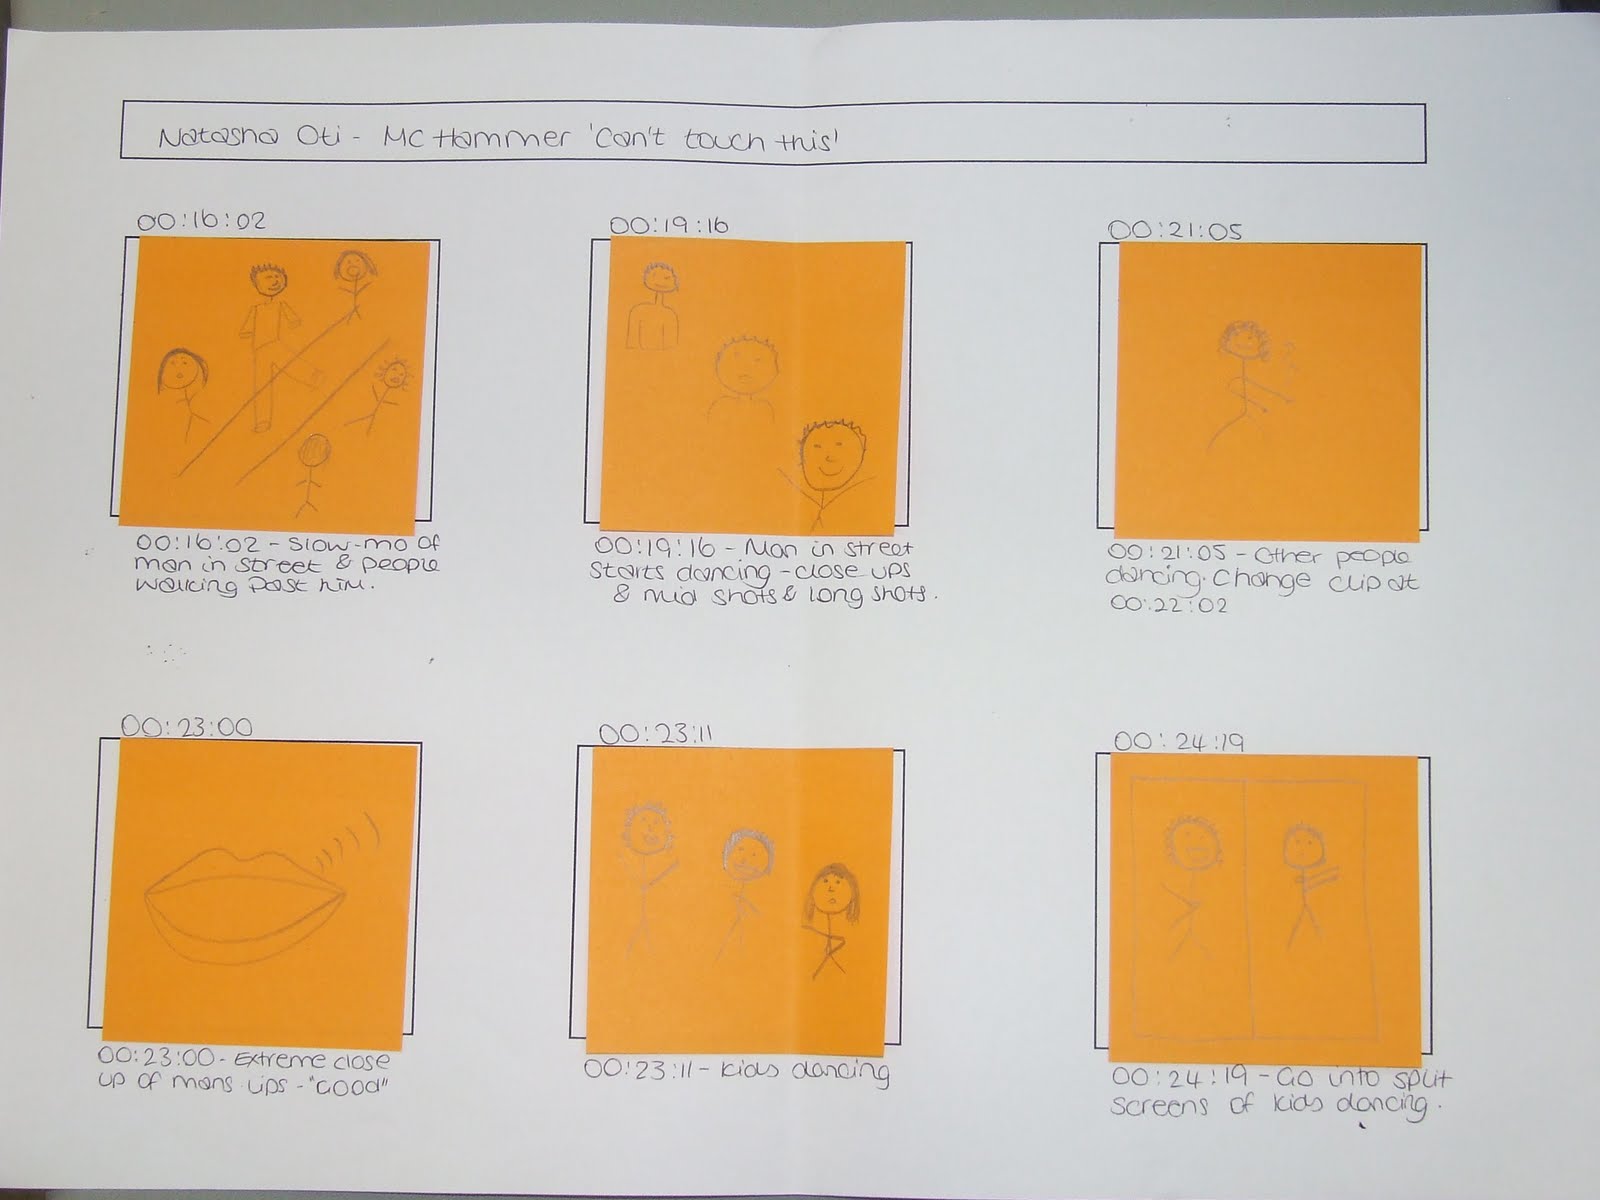
Timeline and Storyboard for my video!
These are the pictures of my timeline and storyboard. I firstly created a timeline for the making of my video. The timeline helps us to see the times where I can cut the clips and edit the film to how I exactly want it. Theses pictures represents the different clips I will use in my video and where all the editing cuts will be. I have done the storyboard in detail to see what the video would look like if I did it exactly the way I have planned it. I will be able to change things later on if I am not happy with some parts of the video I produce, and I can also add in things later on if I get any other ideas for the video. Here are the pictures of my storyboard and timeline.






Album Cover Analysis 1

The image that is shown here is an analysis that I did for Jordin Sparks Album - One Step at a time. Analysing the Album covers, helped me to create my Digipak for my Film appropriately so that it includes all the aspects it should. Click the picture to view Properly.

Tuesday, 12 October 2010


Subscribe to:
Posts (Atom)